If you’ve ever watched a tropical hibiscus (Hibiscus rosa-sinensis — the big, flashy-flowered species native to subtropical Asia, not the cold-hardy perennial you’d find in a Midwest cottage garden) push out nothing but thick, dark-green leaves all summer while your neighbor’s nearly identical plant is dripping with dinner-plate blooms, you’re not doing anything catastrophically wrong. You’re almost certainly just feeding it the wrong nutrients at the wrong time. Tropical hibiscus is unusually responsive to fertilizer chemistry — more so than most flowering tropicals — and once you understand why, the fix is genuinely straightforward. This guide walks through the nutrient logic, the iron piece that most intermediate growers skip, and a timing framework you can apply whether you’re growing in a container on a Portland patio or managing a backyard planting in Kailua-Kona.
Why “Balanced” Fertilizer Is the Wrong Starting Point
Walk into any garden center and the default advice for blooming plants is a “bloom booster” — something with a high middle number, like a 10-30-20 (the three numbers, always in this order, represent nitrogen, phosphorus, and potassium — or N-P-K). The logic sounds right: more phosphorus means more flowers. For roses and annuals, that’s a reasonable heuristic. For tropical hibiscus, it often backfires.
The University of Florida IFAS Extension’s guide on Hibiscus rosa-sinensis in the Florida landscape specifically flags excessive phosphorus as a contributor to iron lockout in hibiscus — meaning the plant has iron in the soil but can’t actually absorb it. Iron deficiency (chlorosis — yellowing leaves, particularly between the leaf veins while the veins themselves stay green) is one of the most common reasons tropical hibiscus fails to bloom reliably, and high-phosphorus fertilizers make it worse by interfering with iron uptake at the root level.
The University of Hawaii’s CTAHR publication on hibiscus production echoes this, recommending growers prioritize a fertilizer with a moderate, balanced nitrogen and potassium ratio rather than spiking phosphorus. Their recommendation leans toward ratios closer to 17-5-17 or similar high-N, low-P, high-K formulations for sustained flowering in Hawaii’s growing conditions.
The practical takeaway: If you’ve been using a generic “bloom booster” with a ratio like 10-30-20, that’s likely suppressing the very iron uptake that drives flower production. Switch to a formulation closer to a 13-4-13 or 17-5-17 before you do anything else.
The Iron Formula: What It Is and When to Use It
Here’s the piece that separates growers who get consistent flushes from those who get occasional blooms with long gaps. Tropical hibiscus has a notably high iron demand compared to most garden plants. The Missouri Botanical Garden’s plant database notes that Hibiscus rosa-sinensis is particularly prone to iron chlorosis, especially in alkaline soils or hard-water situations — both of which are common for container growers on the mainland who water with municipal tap.
Iron in the soil is not the same as iron available to the plant. At soil pH above 6.5, iron becomes chemically bound and essentially invisible to roots. This is why you can be growing in a perfectly amended tropical mix and still see chlorotic new growth on your hibiscus.
The two-part fix:
-
Chelated iron supplement — Iron chelate (sold as a powder or liquid drench, sometimes labeled “sequestrene” or iron EDTA/DTPA) delivers iron in a form plants can absorb even at higher pH. Fine Gardening’s guidance on feeding flowering tropicals recommends chelated iron specifically over iron sulfate for container plants because chelated forms stay available longer in potting media. Growers on forums and in published nursery guides consistently report that a chelated iron drench applied monthly during the active growing season (roughly March through October for most mainland zones, year-round in Hawaii with a brief reduction in winter) resolves chlorosis faster than any other intervention.
-
Lower your pH if needed — For container plants, adding a small amount of sulfur or switching to an acidifying fertilizer can bring pH into the 6.0–6.5 sweet spot where iron uptake is optimized. For in-ground plantings in Hawaii, the CTAHR publication notes that most volcanic soils are naturally acidic and iron chlorosis is less common there — the problem skews toward mainland container growers and those in limestone-heavy Florida soils.
By the Numbers: Target Ranges for Tropical Hibiscus
| Parameter | Target Range | Why It Matters |
|---|---|---|
| Soil / media pH | 6.0–6.5 | Peak iron and micronutrient availability |
| Fertilizer N-P-K ratio | ~17-5-17 or 13-4-13 | Avoids phosphorus-induced iron lockout |
| Chelated iron frequency | Monthly (growing season) | Prevents chlorosis before it starts |
| EC (salt buildup check) | Flush containers every 6–8 weeks | Excess salts block nutrient uptake |
Fertilizer Timing: The Flush Cycle That Drives Bloom Cycles
Tropical hibiscus doesn’t bloom continuously from a single nutrient push — it blooms in flushes, and each flush is partly driven by the plant’s cycle of new growth. New growth → bud set → bloom → brief rest → new growth again. Your fertilizer schedule should map onto that cycle, not run on a fixed weekly calendar regardless of what the plant is doing.
The Spruce’s hibiscus fertilizer guide, along with nursery-level recommendations from growers shipping H. rosa-sinensis nationally, converges on a roughly two-week fertilizing rhythm during peak season using a water-soluble fertilizer at half the label rate rather than a full-rate weekly application. The reasoning: lower concentration applied more frequently keeps a steadier nutrient baseline without the spike-and-crash that full-rate weekly feeding can create. Salt buildup from over-fertilizing is the second most common reason growers get foliage at the expense of flowers — roots stressed by salt accumulation redirect energy to survival, not reproduction.
Practical timing framework:
- Early spring (March–April on the mainland, February in Hawaii): Begin feeding as daytime temps consistently reach 60°F. Start with a half-strength application of your balanced low-phosphorus fertilizer to wake up the root system without shocking it.
- Active growing season (May–September mainland, March–October Hawaii): Full rhythm kicks in — fertilize every 10–14 days at half label strength with your N-dominant formula. Add a chelated iron drench once a month, separate from your regular fertilizer application, watered into moist soil (never dry — chelated iron on dry roots can cause minor burn).
- Late season wind-down (October–November): Taper nitrogen. Switch to a formulation with slightly reduced N and maintain potassium to harden the plant for cooler weather. Container plants overwintered indoors should receive little to no fertilizer from November through February.
- Mid-season diagnostic check: If you’re 6–8 weeks into the season with no bud set and strong vegetative growth, that’s your signal to check pH, flush the container, and add a chelated iron application before assuming something more complex is wrong.
Container vs. In-Ground: The Decision That Changes Your Whole Strategy
This is where the tradeoffs get real, and the right answer depends on your situation rather than a universal rule.
Container growers have more control over pH and media composition but face faster salt buildup, more frequent drying cycles that stress root uptake, and the constant risk of phosphorus accumulation from using the wrong fertilizer for even one season. The upside: you can correct problems faster. A container media flush (running clean water through until it drains clear from the bottom, then waiting 30 minutes and repeating) clears salt accumulation in one session. If you’re in a non-tropical zone (anything below USDA Zone 9), containers are your only practical option for overwintering these plants — and that winter dormancy period resets the feeding clock entirely.
In-ground Hawaii growers deal with the opposite set of tradeoffs. Volcanic soils in most of Hawaii tend toward natural acidity and good drainage — two conditions that favor iron availability. The CTAHR hibiscus production publication notes that the biggest fertilizer mistake in Hawaii in-ground plantings is actually over-application of nitrogen without adequate potassium balance, leading to soft, lush growth that’s more vulnerable to pests and less productive in terms of bloom. If you’re growing in Kona, Hilo, or the Windward Oʻahu side where rainfall is high, leaching is a real factor — you may need to feed more frequently at lower rates than a standard twice-monthly schedule would suggest.
The if/then decision rule for this section:
- If you’re in a container in Zone 7–9 and your plant hasn’t bloomed in 6+ weeks of warm weather → check pH first, flush for salts second, add chelated iron third. Don’t add more fertilizer until you’ve ruled out lockout.
- If you’re in-ground in Hawaii and getting strong foliage but weak blooms → suspect nitrogen/potassium imbalance before iron. Pull back nitrogen, increase potassium, and reassess over one full flush cycle (roughly 4–6 weeks).
- If you’re starting fresh with a new specimen → use a low-phosphorus balanced fertilizer from day one and build the chelated iron drench into your monthly calendar before you see any chlorosis. Prevention is dramatically easier than correction.
Product Tier Context: What You’re Actually Shopping For
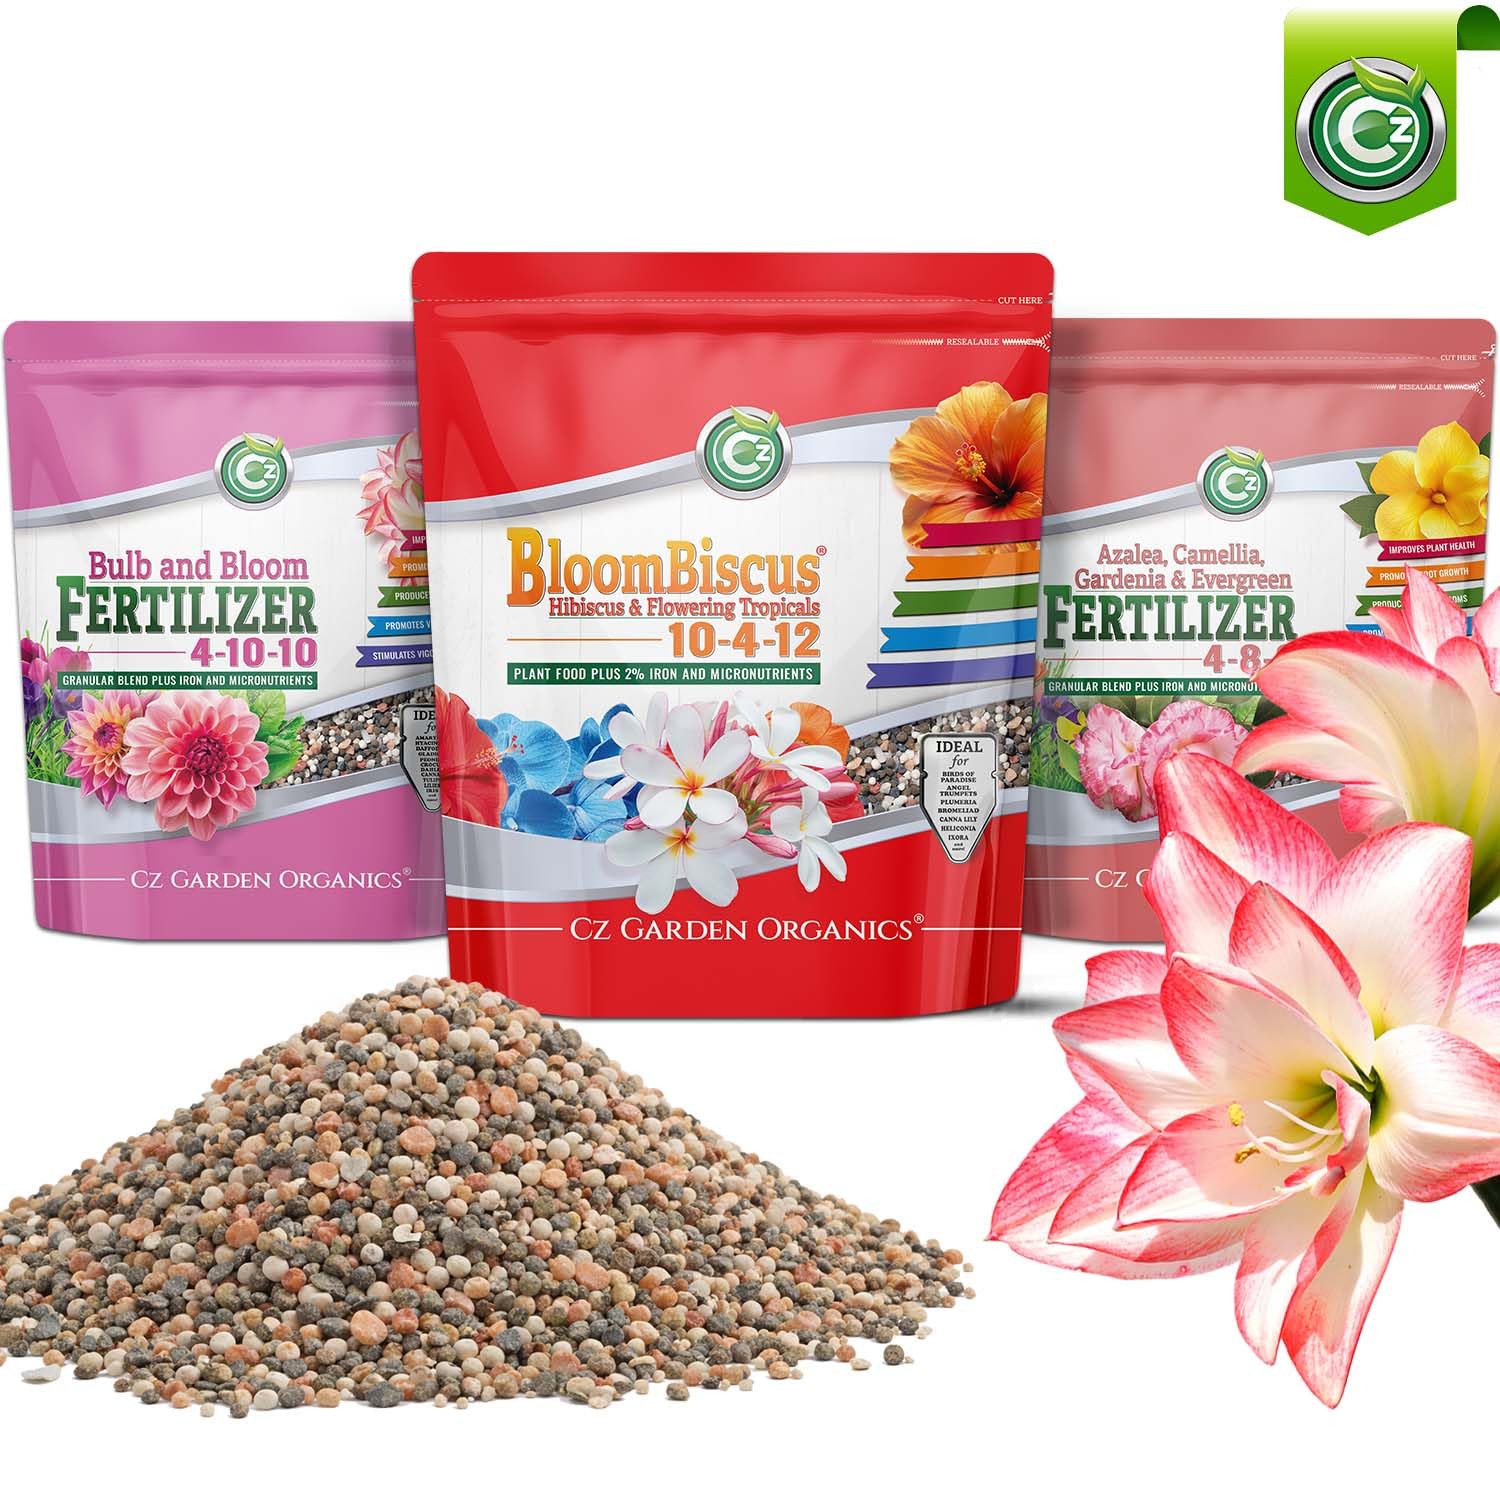
Without fabricating performance claims from firsthand use, the pattern across nursery publications and grower reviews is consistent: the fertilizers that repeatedly surface in hibiscus-specific discussions share a few characteristics — water-soluble rather than granular for container work (faster uptake, easier to flush), low to moderate phosphorus, and either chelated micronutrients built in or a clear label indicating the micronutrient package includes iron. Brands like Jack’s Classic, Dyna-Gro Foliage Pro (often adapted by hibiscus growers specifically for its 3-1-2 ratio and chelated iron inclusion), and Nelson Plant Food’s hibiscus-specific formula come up repeatedly in nursery-level recommendations for exactly these reasons.
For chelated iron as a standalone supplement, published nursery guidance consistently points toward EDTA-chelated products for pH ranges below 6.5 and DTPA or EDDHA chelates for more alkaline situations — the latter being more expensive but more effective when pH creeps above 7.0.
At the $30–$60 annual fertilizer budget level (a reasonable baseline for one to three container specimens), you’re not choosing between premium and discount — you’re choosing between general-purpose and hibiscus-appropriate. That distinction is worth every dollar of the difference.
The bloom potential of a well-grown tropical hibiscus — the kind that puts out a new flower nearly every day through a long season — isn’t magic or luck. It’s pH management, the right N-P-K ratio, and a monthly iron habit. Get those three variables calibrated, and the plant does the rest.